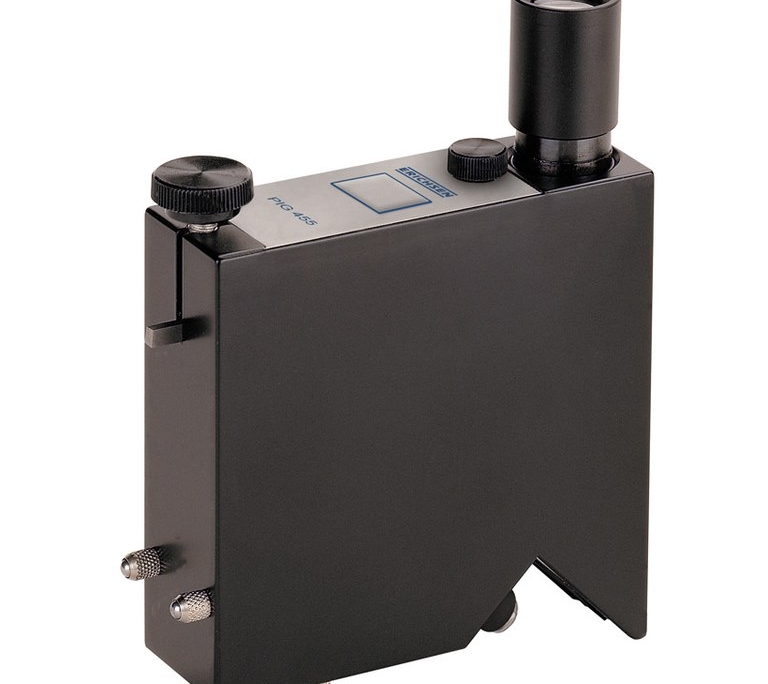
Paint Inspection Gauge P.I.G. Model 455
Coating Thickness Measurement (Manual)
The P.I.G paint inspection gauge 455 is used wherever conventional electromagnetic measurement methods fail (e.g. for coatings on wood, concrete, plastic and other non-metallic substrates). The P.I.G. 455 is based on the standardized wedge cut method: The coating is scratched through at a predetermined angle into the substrate. The coating thickness (s) is calculated from the cutting edge projection (b) (as determined by a measuring microscope) and the cutting angle (α). Similarly, the individual paint/coating thicknesses can also be determined for multi-layer systems.
Norms
- DIN 50986
- ASTM D 4138
- AS 1580 Meth. 408.1


